Related Topics
For users of Process Director v5.13 and higher, document attachments may be annotated using Collaborative Document Markup. This feature creates a PDF markup copy of the original document, which stores both the original document text and formatting, as well as the markup annotations placed into it. The original document is not edited directly. When the markup document is opened, it displays all previous markups from all users.
Multiple users can add markup comments and annotations to a document simultaneously, though the simultaneous changes made by other users are not displayed in real time. Instead, each simultaneous user works in a unique session while annotating the document, and see only the new markups they add during their session. Once the user saves and closes the markup document, the markups made during their session will be recorded and added to the existing markup annotations. Once you reopen the markup document, it will display the markups saved by all users during your editing session.
 Collaborative Document Markup is a separately licensed component that may not be available for all installations of Process Director. This feature also requires that the Process Director server has the 64-bit version of the Microsoft Visual C++ runtime library installed. The library can be obtained from Microsoft's web site.
Please see the documentation for the ShowAttach control to see how to enable Collaborative Document Markup for attachments. Assuming that Review Permissions are enabled, Collaborative Document Markup will enable the user to add comments, callouts, and other annotations for the following document types:
- DOC/DOCX
- XLS/XLSX
- PPT/PPTX
- TXT/CSV
Once enabled, when a user clicks the Review link for the attachment, the attachment will be opened in a new window for the Collaborative Document Markup interface for display and/or editing.

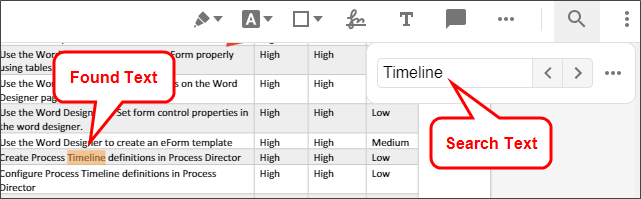
A known issue in Chromium-based browsers can prevent comments in an annotated PDF document from displaying correctly if the document is opened using the View link instead of the Review link.
While the document itself can't be edited directly, a number of marking, annotation, and commenting features can be used and saved with the document.
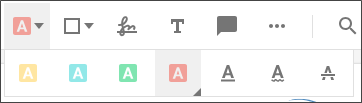
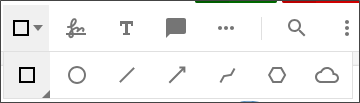
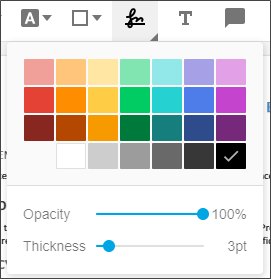
Markup Tools #
A number of tools are available to annotate the document, and these tools are displayed in the toolbar at the top of the page.


Using the Markup Tools #
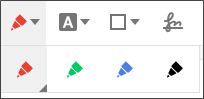
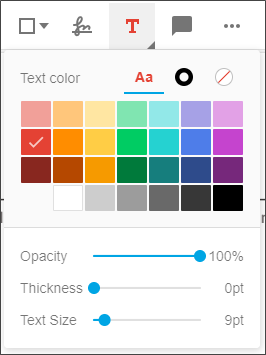
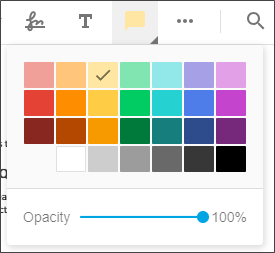
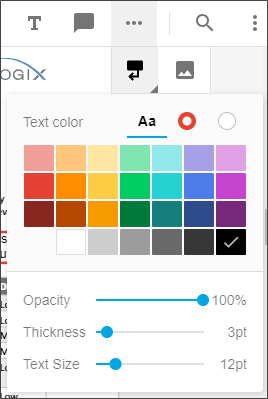
To use any of the Markup tools, simply click on the tool you want to use. Many tools also have submenus where you can change specific properties of the tool, such as color, thickness, etc., as described above. Once you select the desired tool, the mouse cursor will show as a set of crosshairs to use in determining where to place the object. Simply, click on the place in the document where you'd like to place the tool. The appropriate object will be placed in the location where you click. You can then add text, or draw the desired item, as required.
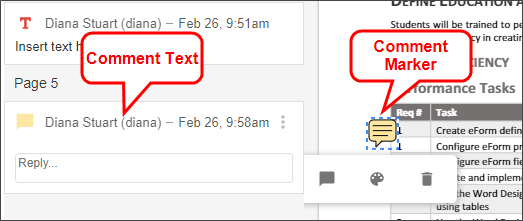
Once an object has been placed in the document, you can go back to edit or delete the object by clicking on the Select tool to activate it., then clicking the object. When you click on the object using the Select tool, the object will become highlighted for editing, and a small edit menu will appear.
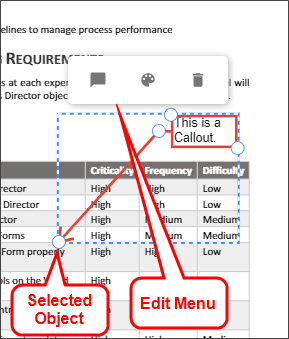
The edit menu provides three options for editing.
| TOOL | NAME | DESCRIPTION |
|---|---|---|

|
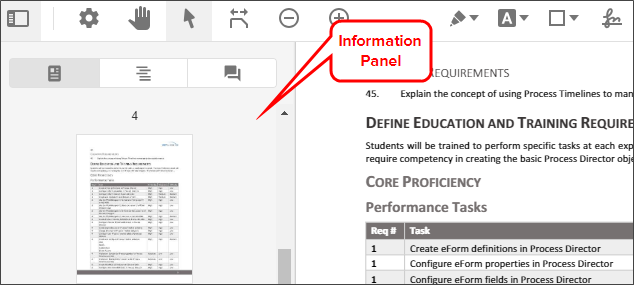
Comment | Add a comment to the object in the Information Pane. |

|
Style | Open the style menu to change the style of the object. |

|
Delete | Delete the object. |
Text Markups can be edited directly by double-clicking on them, then editing the text.
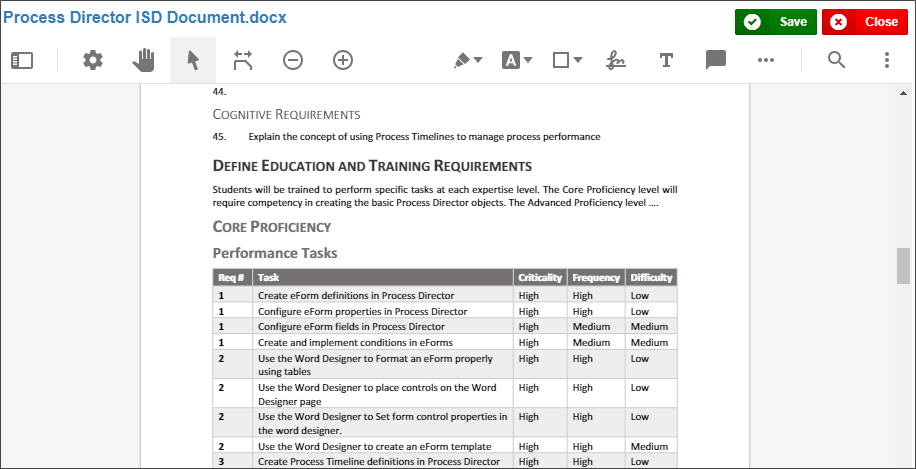
Once you are done reviewing the document, click the Save button to save your changes. If you are making a lot of Markups, you may want to save periodically to ensure that you don't lose your changes should the browser window be inadvertently closed. To close without saving your changes, click the Close button, then confirm that you want to close without saving in the confirmation dialog box.
Documentation Feedback and Questions
If you notice some way that this document can be improved, we're happy to hear your suggestions. Similarly, if you can't find an answer you're looking for, ask it via feedback. Simply click on the button below to provide us with your feedback or ask a question. Please remember, though, that not every issue can be addressed through documentation. So, if you have a specific technical issue with Process Director, please open a support ticket.


